No more weeping tears over a broken ceramic cup because with the best glue for ceramic in your toolbox, you can quickly fix broken pottery anytime, anywhere. Feeling relieved? Certainly….
From ceramic showpieces to kitchenware, cookware, tableware, or anything made of ceramic are always vintage.
They never lose their beauty. Ceramic items are one of the fascinating things to have.
They are not just expensive, preferably most of the items are wrapped around memories that with accidental damage breaks our heart.
In ancient times, people used to look for ways to repair broken ceramics items, but mostly throwing them out used to be the final decision.
But the good news is, with the advancement of modern technology now, we can easily fix any ceramic items and keep them forever using the simple glue made for ceramic.
If you haven’t used ceramic glue before, you may wonder how to use it! Well, here is the answer waiting for you. Keep your eyes glued to the article to learn how to glue ceramic.
Contents
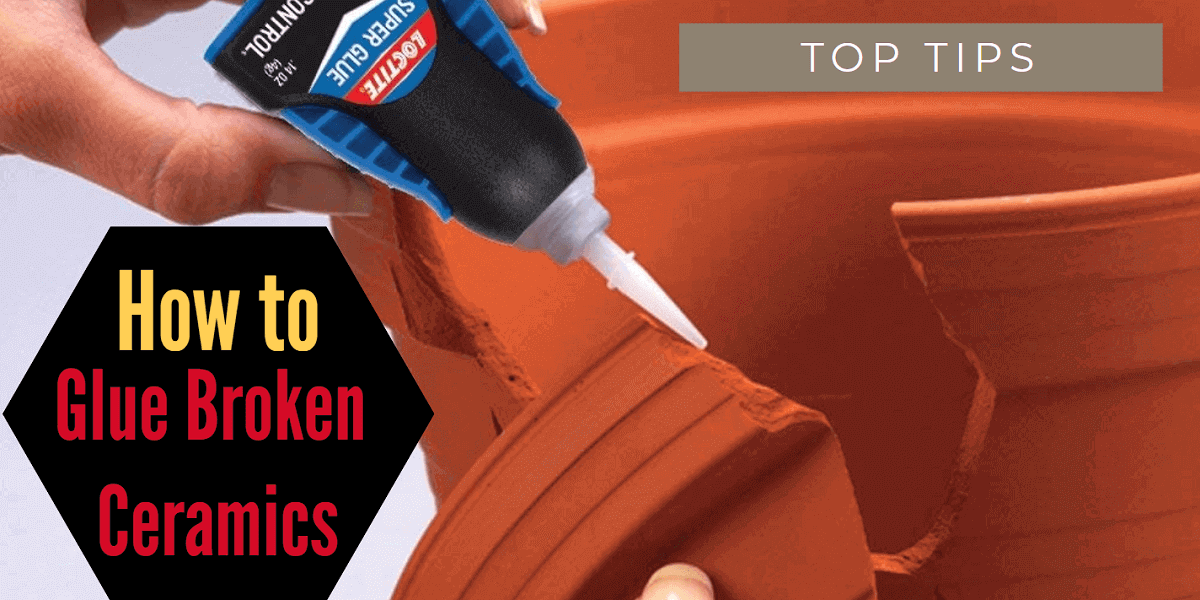
How to Glue Broken Ceramics
Before you start applying glue over your broken item, you need to be prepared. With the right tools right in front of your hand, you can fix any ceramic things correctly.
Thus, I will explain the process of repairing ceramic items step by step. Stay tuned!
Preparation
Before you begin to fix your favorite ceramic product, keep in mind that you only have one chance.
If you make a mistake, then you won’t be able to redo or fix it because the dried glue will not let the broken pieces join together correctly.
Make sure you follow the below steps to do your fixing job correctly.
1. Collect all the broken pieces into one place
2. Make a plan which piece to glue first
Items and ingredients you need for ceramic repair
- Mat
- Clay
- Gloves
- Denature
- Popsicle stick
- Clear epoxy glue
- Eye protective glass
- Color for decoration
- Paper pad/ piece of wood
- Razor-blade/ scraping knife
- Tweezer or a large box of rice/ sand to hold a grip
Getting started
When you are ready with all the elements, you can begin the repairing job — first things first.
Step 1 – Planning
Make sure you have all the broken pieces in one place. Set the pieces together to check if there are any missing pieces or not.
This way, you can also plan which piece to stick to first. Usually, it’s better to start with the big pieces early.
Step 2 – Get your glue ready
Pick up 5-minute Epoxy glue because it tends to dry slowly. Usually, epoxy comes with a two-step formula. Some epoxy glue comes ready to apply.
Depending on what material you are using the epoxy for, the procedure might vary.
If you intend to learn how to glue broken ceramic plates, cookware, kitchenware as with epoxy, pick the right glue.
Then read the instructions on how to use it. Next, get a fair amount of glue as much as you require for the fixing purpose on a piece of paper or wooden piece and spread it.
Using the popsicle stick, you can mix and spread the glue.
Step 3 – Applying the glue
At this stage, you need to place the broken ceramic item in a stable position. For this, you can use a box filled with sand or rice.
You can also use PVC pebbles. Pick any of these items which seem convenient to you. Whichever you prefer to pick, just remember that you will need plenty of it.
Then place the broken piece in that sandbox and make sure it firmly stays there.
Now, using the popsicle stick or toothpick, apply glue on one side of the broken piece and join the piece together.
Make sure the pieces are perfectly aligned and squeeze to set.
Step 4 – Repeat to apply glue for other parts as planned
As you stick one piece, hold it tight and let it dry. Then move on to the next part.
This way, finish gluing all the pieces and make sure they are joined properly in place. Don’t worry if you see worn-out glue.
Step 5 – Curing
As you have completed gluing all the pieces, use clay for curing.
Even though you are using sandboxes for stability, some ceramic items may be brutally broken that you need additional support for keeping the pieces in place.
In that case, you can use clay for curing purposes.
The clay will help to hold the pieces in place and refrain from misplaced or loosening up.
Leave it for an hour or so, and let the epoxy cure the item completely.
Step 6 – Sanding
When you are mending a broken item using epoxy glue, chances of having excessive adhesive are certain.
How do you resolve it? Here is the deal!
At this point, you need the razor blade for sanding the excess glue. Wear eye protection glasses and gloves to protect yourself.
Then, use the blade to scrape off the unwanted glues from the material.
Step 7 – Look for flaws
Now that you have completed repairing your favorite ceramic item, look carefully if any missing places need your touch.
If required, repeat the process for perfection. Check out every detail carefully that until you are confident with the newly repaired piece.
Step 8 – Painting for a new look (optional)
Though I mentioned this step is optional, I am a perfectionist. Looking at the fine lines of a newly repaired job on my ceramic item does bother me.
Thus, I prefer to paint it to hide the lines and give it a new look. You may follow it too.
You can use acrylic or spray paint to design creative that will give it a decorative look and enhance the beauty of your interior, kitchen set, etc.
Step 9 – Cleaning
As you are done with your new ceramic item, you will see the mess you have created in the process. Don’t worry. Cleaning the epoxy glue or paint is not a tough job.
To wipe off the debris from the repairing work efficiently, you can use denature, alcohol, or acetone to clean the surface.
If the epoxy seems too hard to remove, you can use the razor blade to scrape it off.
Do the cleaning job slowly and carefully as you don’t want to hurt yourself or damage the surface.
Learn More about Ceramic Glue
Now you know the step-by-step way to glue a broken ceramic. We hope you already have the best glue for ceramic or you are researching before buying it.
If you haven’t bought it yet and want to compare the quality and price of some top products in the market, you can check the top 3 items below.
So, how were the top three collections? Did you find yours? If yes, then congratulations! But, if not, then you have an option to compare more products before making the final decision.
You can check out our top ten best glue for ceramic review with a handy comparison table.
Final Thought
Here I end the process on how to glue broken ceramics. It may sound like a lot of jobs, but trust me. Once you use epoxy for repairing the job, you will love it.
All you need is the best glue for ceramic and mind for concentration; you will be amazed by the job you have done.
Do let us know your experience. 🙂